So, you found the perfect photo. Maybe it’s a family memory, a vacation view, or your pet being adorable. You’re excited to get it printed on canvas or paper… but here’s the thing:
Will it actually look good once printed?
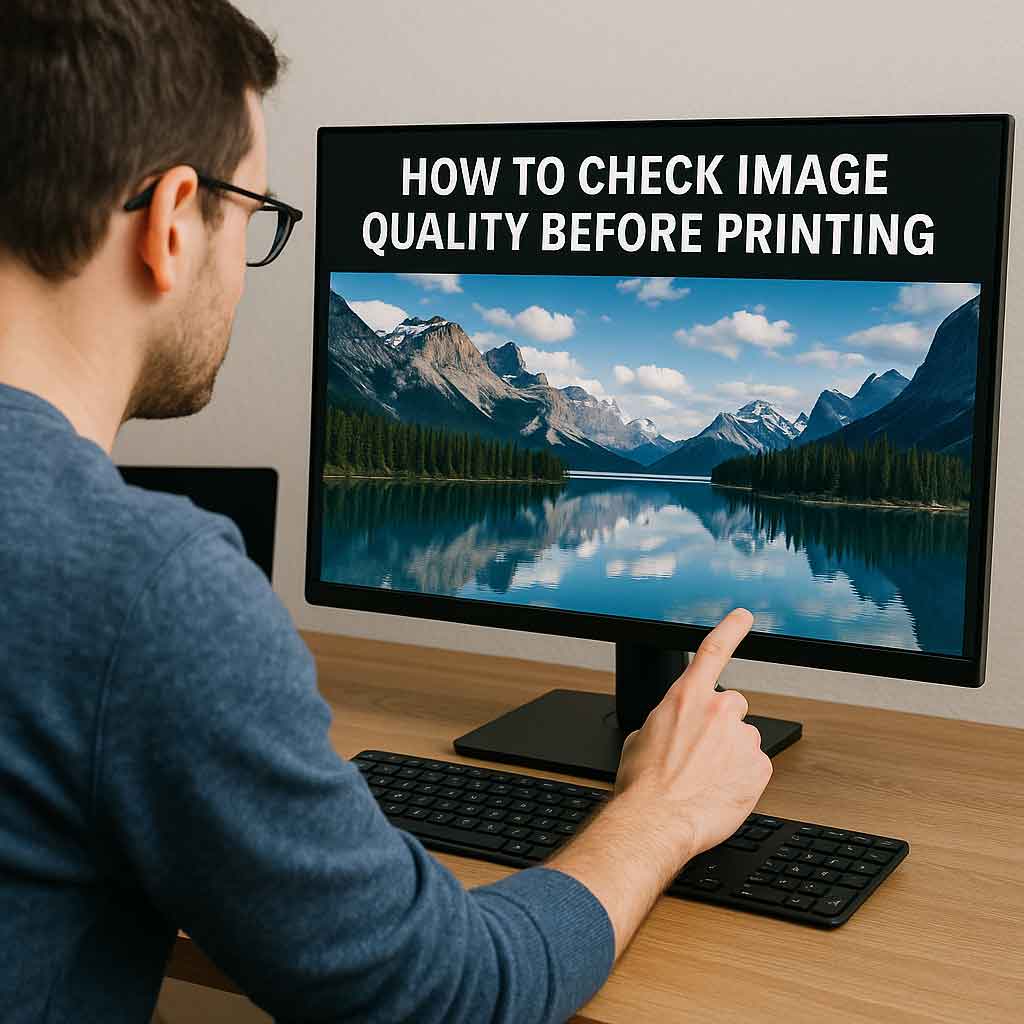
Before you upload that image to a print shop, let’s walk through how you can use your own computer or laptop screen to check photo quality before printing. No special software needed—just a few smart tips that anyone can follow.
Why It’s Important to Check Image Quality Before Printing
When you look at an image on your phone or social media, it always looks great—bright, vibrant, and sharp. But that’s often not how it will look once printed—especially if you’re printing it big, like on a canvas.
Printers don’t lie. If the image is too small, too blurry, or overly compressed, the flaws will show. That’s why checking your image on your monitor is the first step toward a beautiful, print-ready photo.
Step 1: Know the Size You Want to Print
Before doing anything else, decide how large you want your print to be:
- A small 8×10” photo
- A 16×20” canvas
- A large 24×36” art piece
This matters because larger prints need higher resolution. A photo that looks great on Instagram might fall apart on a 24×36” canvas if it’s not high-quality enough.
Step 2: Check the Resolution of Your Image
Now, check how many pixels your image has. Here’s how:
- On Windows: Right-click the file > Properties > Details tab
- On Mac: Control-click the file > Get Info
You’ll see numbers like 3000 x 4000 pixels. Use this rule of thumb:
Divide the pixel size by 300 to get the ideal print size in inches.
For example:
- 3000 ÷ 300 = 10 inches
- 4000 ÷ 300 = 13.3 inches
So that image would look sharp and crisp up to 10×13”. You can print it bigger, especially on canvas, but it may not be as sharp.
Pro Tip: For canvas printing, 150–200 DPI is often acceptable due to the texture.
Step 3: Open the Image and Zoom to 100%
To truly judge the quality, open the image on your computer or laptop and zoom to 100%. This means one image pixel equals one screen pixel.
💡 At 100% zoom, what you see is what you’ll get.
Look closely:
- Are the details sharp?
- Are there any signs of blur or grain?
- Can you see compression blocks or color artifacts?
If it looks fuzzy now, it will look fuzzy in print—especially when blown up.
Step 4: Simulate the Print Size on Screen
Want to preview what your print will actually look like on your wall?
Here’s a trick:
- Measure your screen width in inches (physically with a ruler).
- Divide your screen resolution width (e.g. 1920px) by its width in inches to get DPI.
- Resize the image on-screen to match your planned print size using that DPI.
It’s not exact, but it gives you a realistic sense of how big it will look and how visible any imperfections might be.
Step 5: Watch for These Common Print-Killing Issues
✅ Sharpness – Zoom into the eyes or main subject. If they’re soft or blurry, consider choosing another photo.
❌ Noise – Grainy textures, especially in low-light photos, will stand out in print.
❌ Over-editing – Filters, AI enhancements, and smoothing often look fake or smeared when printed.
❌ Low resolution – Anything under 1000px wide will usually not print well beyond postcard size.
Step 6: Consider Calibrating Your Monitor (Optional)
If you want your print to match your screen exactly, you’ll need to calibrate your monitor. Most screens show colors too bright and saturated.
You can use:
- Built-in calibration tools on Windows and Mac
- Calibration hardware like Datacolor Spyder or X-Rite i1Display
It’s not a must for casual prints, but for professional photo printing or high-end canvas work, it helps.
Step 7: Print a Small Sample at Home (Optional)
Still unsure? Print a small 4×6” crop of your image at home or at a photo kiosk.
Focus on the most detailed area—like a face or text. This can give you a solid preview before committing to a large-format print.
Quick Chart: What Image Size Do You Need?
| Final Print Size | Minimum Resolution (pixels) | Notes |
|---|---|---|
| 8×10″ | 2400 x 3000 | Best at 300 DPI |
| 12×16″ | 3600 x 4800 | Canvas OK at 150–200 DPI |
| 16×20″ | 4800 x 6000 | |
| 24×36″ | 5400 x 8100 | Lower DPI is fine for canvas |
| 30×40″ | 6000 x 9000 | High resolution recommended |
Step 8: Choose a Printer That Supports High-Res Files
Make sure the print shop you choose can handle high-resolution files and doesn’t downsize or compress them.
At Canvas Prints Calgary, we use:
- 400-year fade-resistant inks
- Hand-stretched cotton canvas
- Premium giclée printing process
- Free shipping anywhere in Canada
You can upload your full-size file, and we’ll take care of the rest—no pixelation, no surprises.
Summary: How to Use Your Monitor to Check if Your Photo Will Print Well
✅ Choose your target print size
✅ Check resolution (aim for 300 DPI)
✅ Zoom to 100% to inspect details
✅ Watch for blur, noise, and over-compression
✅ Calibrate your monitor for accurate color (optional)
✅ Test print a small sample if in doubt
By taking just a few minutes to check your image on your screen, you’ll save yourself from a blurry or disappointing print—and make sure your photo looks amazing in print, just like it does in your head.